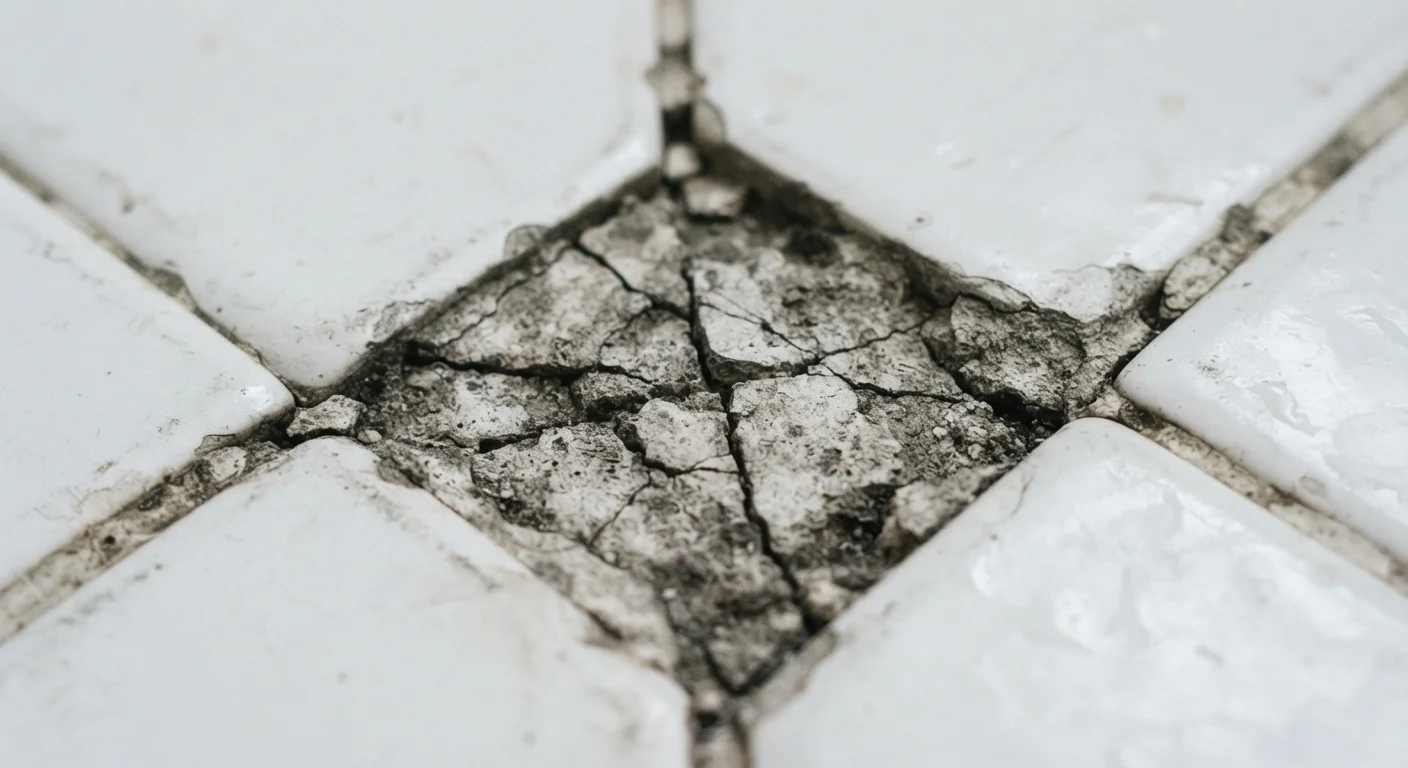
What Cracking Grout Is Really Telling You
A few hairline cracks in grout might seem like a minor annoyance, but they're often the first sign of something more serious happening beneath your tile. Grout doesn't crack randomly - it cracks because something is moving, flexing, or failing underneath it. Understanding the cause is the only way to fix it for good.
The tile assembly is a system: subfloor, mortar bed, tile, and grout all need to work together. When any layer shifts, compresses unevenly, or holds moisture it shouldn't, grout absorbs the stress - and cracks. Slapping new grout over old cracks without diagnosing the cause is one of the most common mistakes homeowners make, and it guarantees the problem will return.
Regrouting without addressing subfloor movement or flex.
Why it happens: Homeowners see cracked grout as a surface problem and go straight to the cosmetic fix, not realizing the substrate beneath is still shifting.
Using the wrong grout type for the tile spacing or location.
Why it happens: Grout packaging isn't always clear, and many homeowners choose based on color rather than joint width or moisture exposure.
Skipping or misplacing expansion joints along walls and transitions.
Why it happens: Expansion joints - typically filled with flexible caulk rather than rigid grout - are often overlooked in DIY installations because their purpose isn't obvious.
Grouting too soon after setting tile or in poor curing conditions.
Why it happens: Impatience or time pressure leads homeowners to skip the required cure time for the tile adhesive or mortar bed before applying grout.
Mixing grout with too much water, weakening its final strength.
Why it happens: A looser, wetter grout mix is easier to work with and spread, so many first-timers add extra water without realizing the structural trade-off.
How to Fix It the Right Way
Once you've identified the underlying cause, regrouting becomes a sustainable repair rather than a temporary patch. Start by fully removing all cracked grout using a grout saw or oscillating tool - don't just fill over it. Clean the joints thoroughly and allow the area to dry completely before applying new grout.
Don't Grout Over Existing Cracks
Applying fresh grout directly over cracked or crumbling grout will not bond properly and will fail again quickly - often within weeks. The old material must be fully removed down to the tile edge before new grout is applied. Skipping this step wastes time and materials and can mask signs of a worsening structural problem.
Match the replacement grout to the original type: sanded grout for joints wider than 1/8 inch, unsanded for narrower joints. Epoxy grout is a more durable option in high-moisture areas like showers, though it requires more careful application. Follow manufacturer cure times precisely - most grout needs 24 to 72 hours before exposure to water.
If your inspection reveals subfloor flex, delamination, or moisture damage, those issues must be addressed before any surface repair. In those cases, consulting a licensed tile contractor or structural professional is the right call. Permits or inspections may be required depending on the scope of any structural work - check your local building code requirements before proceeding.
This article is for general informational and educational purposes only. It is not a substitute for advice from a licensed contractor or structural professional. Always verify local building codes and consult qualified tradespeople for work involving structural components, significant moisture damage, or permitted repairs.