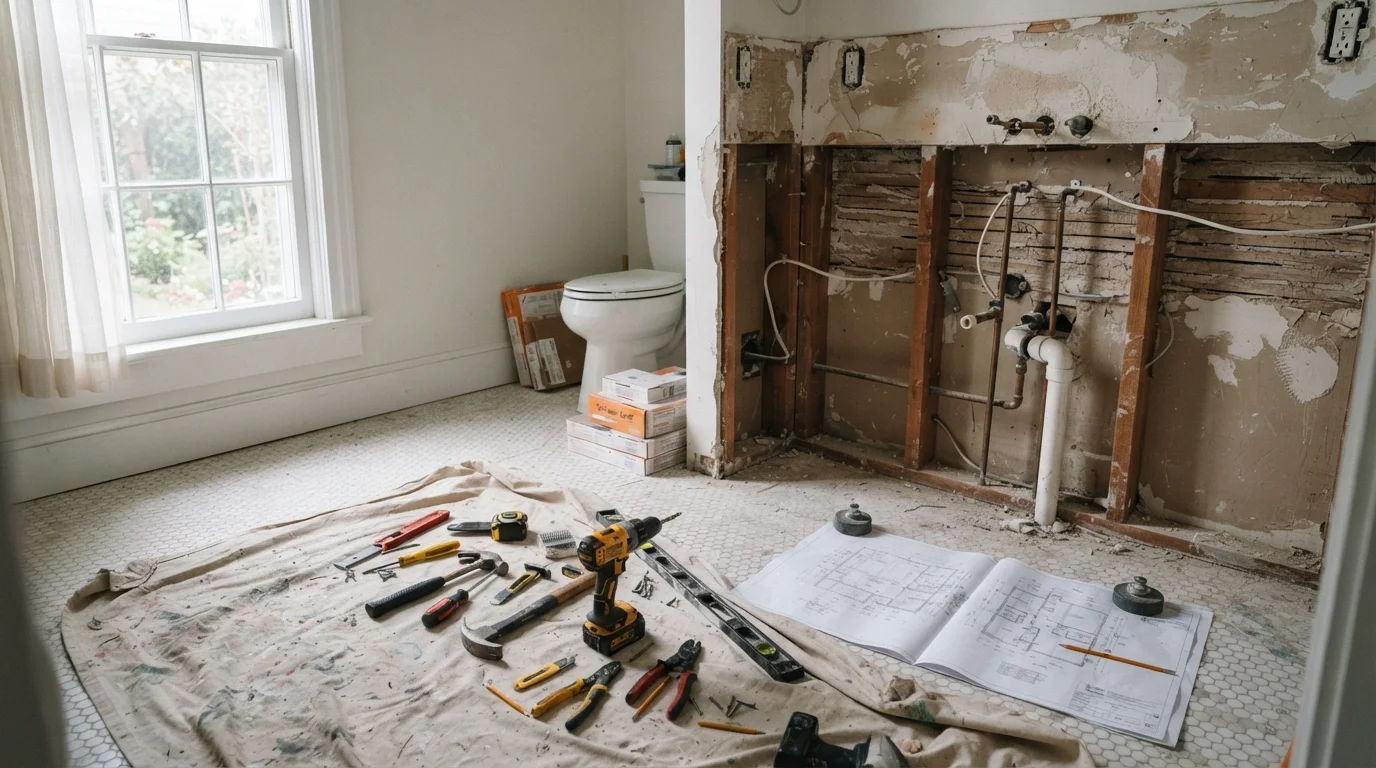
Why Pre-Demo Planning Makes or Breaks a Bathroom Reno
Bathroom renovations consistently rank among the most expensive and disruptive home improvement projects per square foot. The confined space hides decades of decisions - galvanized pipes, knob-and-tube wiring, asbestos tile mastic, mold inside wall cavities - that don't announce themselves until a wall comes down. Once demolition starts, the clock is ticking and costs don't pause.
The checklist below walks through every major planning category you should complete before a single tile gets pried up. Work through it in sequence: budget and scope decisions feed directly into permit requirements, which in turn determine contractor timing and material lead times. Skipping ahead creates the exact chaos this document is designed to prevent.
For a broader look at how to keep renovation spending from derailing your finances, the monthly budget health check is a useful companion resource to revisit throughout the project.
Budget and Financial Preparation
Scope and Design Decisions
Permits and Code Compliance
Contractor Coordination
Material Lead Times and Procurement
Site Preparation and Logistics
Tools and Resources You'll Need for This Planning Phase
You don't need construction expertise to work through this checklist - but you do need a few organizational tools to do it well.
Contractor bid comparison spreadsheet
Track itemized bids from multiple contractors side-by-side to compare labor costs, material allowances, and scope inclusions.
Project timeline template
Map out the sequencing of demolition, rough work, inspections, and finish work to coordinate trades and prevent gaps.
Local building department website or phone contact
Confirm which permits are required for your project scope and get current processing timelines.
Tape measure and bathroom floor plan sketch
Document existing rough-in dimensions for toilet, shower drain, and vanity plumbing before ordering replacement fixtures.
Material and fixture tracking log
Record order dates, estimated delivery windows, and storage locations for all long-lead items.
On the regulatory side, don't guess at what requires a permit. Bathroom plumbing, electrical circuits, and any structural wall changes almost always require permits and inspections in U.S. jurisdictions. Read through what homeowners actually need to know about permits and inspections before finalizing your project scope - unpermitted work can affect your homeowner's insurance and complicate a future sale.
Older Homes: Test Before You Demo
Homes built before 1980 may contain asbestos in floor tile, tile adhesive, or drywall compounds, and lead paint in surface coatings. Disturbing these materials without proper testing and abatement procedures can create serious health hazards. Hire a certified inspector to test before demolition begins, and engage a licensed abatement contractor if hazardous materials are identified. This is not a DIY task.
Water Damage Behind Walls Is Common
A significant share of bathroom gut renovations uncover water damage, rot, or mold once tile and drywall come down - especially around shower surrounds and under flooring near the toilet. Build this possibility into your contingency budget. Attempting to seal over active moisture damage rather than remediate it will cause the problem to return and worsen.
Common Mistakes That Derail Even Well-Funded Projects
Most bathroom renovation failures are planning failures, not execution failures. Here are the patterns that show up repeatedly:
- Ordering materials after demo: Specialty tile, custom vanities, and soaking tubs can have 6-12 week lead times. Starting demolition before materials are confirmed means your bathroom sits gutted while you wait.
- Underestimating trade sequencing: Plumbing rough-in must be inspected before walls close. Electrical must be done before tile. HVAC fan venting must be planned before ceiling drywall. Each misstep adds days and change-order fees.
- Ignoring ventilation from the start: Exhaust fan placement and duct routing are often afterthoughts - but they affect both ceiling framing and exterior wall penetrations. Size your fan for the room's square footage from the beginning.
- Skipping the temporary-bathroom conversation: If this is your only full bath, you need a concrete plan - whether that's access to a second toilet, a gym membership, or negotiating a construction timeline that limits the gap.
Never Skip the Waterproofing Step
Shower and wet-area waterproofing is not optional and is not performed by most general tile setters as a standard inclusion - confirm explicitly what waterproofing membrane or system your contractor is using and that it meets your local code requirements. Failed waterproofing is one of the costliest renovation mistakes: water infiltrates wall cavities silently and causes mold, rot, and structural damage that can cost tens of thousands of dollars to remediate. Ask your contractor to walk you through their waterproofing approach before work begins.