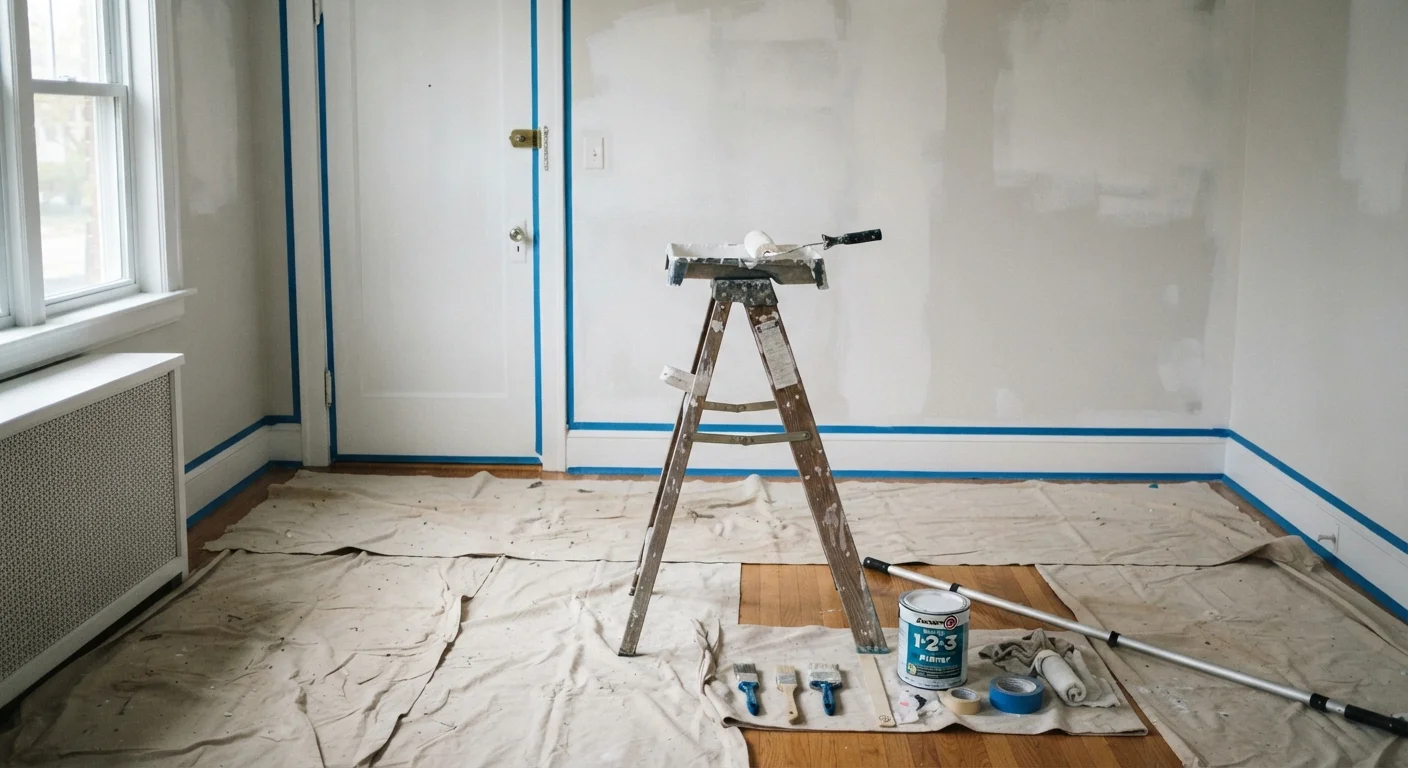
Why Prep Work Outweighs Everything Else
Most paint failures - peeling, bubbling, uneven color - trace back to skipped preparation, not cheap paint. A quality finish starts with a surface that's clean, stable, and smooth. If the wall underneath isn't ready, no amount of premium paint will compensate.
Before opening a can, inspect every wall under good lighting. Look for grease, dust, mold staining, loose existing paint, nail holes, hairline cracks, and water damage. Each issue requires a different fix, and ignoring even one can cause the new coat to fail prematurely. If you've fallen for the idea that prep is optional, common home improvement myths worth dispelling cover exactly why that assumption costs homeowners time and money.
Check Walls Under a Raking Light
Hold a work light or flashlight at a low angle parallel to the wall surface before you begin any prep. This 'raking light' technique reveals dents, ridges, and imperfections that are invisible under normal room lighting. Catching them at this stage costs minutes; discovering them after the finish coat is dry costs hours of rework.
The Correct Prep Sequence
Work through these steps in order - cutting corners on any one of them will surface as a defect in the finished coat.
Clean every wall surface before any other step.
Dust, grease, and residue prevent paint and primer from bonding properly. Even walls that look clean often carry enough surface contamination to cause adhesion failure. A thorough wash is the single highest-leverage prep action you can take.
Fill holes and cracks with the right patching compound, then sand flush.
Unfilled defects telegraph through paint, becoming more visible under sheen and raking light. The right filler for the job - lightweight spackle for small nail holes, setting-type compound for larger repairs - ensures a stable, flat repair that won't shrink or crack over time.
Sand patched areas and any glossy surfaces before priming.
Primer and paint grip a slightly abraded surface far better than a smooth or shiny one. Sanding patched spots also levels any compound that dried slightly proud of the wall. Skipping this step is a leading cause of visible patch marks under topcoats.
Apply a dedicated primer coat to new drywall, patches, and stain-prone areas.
Raw drywall is highly porous and will absorb topcoat unevenly, causing flat spots and requiring extra paint to achieve coverage. Primer seals the surface uniformly and blocks tannin bleed or smoke stains from bleeding through the finish coat.
Mask trim, outlets, and adjacent surfaces before painting walls.
Good masking saves far more time than it costs. Cutting in freehand takes significant skill; tape produces a reliable edge with less stress and fewer touch-ups. Outlets and switch plates should be removed or taped; paint-covered hardware is both an aesthetic and safety concern.
Primer: When It's Required and Why
Primer is a bonding agent, not just watered-down paint. It seals porous surfaces, blocks stains, and gives the topcoat a consistent base to adhere to. Many homeowners skip it to save time or money, but the tradeoff is usually extra topcoats and shortened paint life.
Paint-and-Primer Products Have Limits
Combination paint-and-primer products can work well on previously painted walls in good condition when the color change is modest. They are generally not adequate for bare drywall, heavy stains, or large patched areas. In those situations, a separate dedicated primer coat is the more reliable choice. Always read the product label for the manufacturer's recommended use cases.
As a general rule: bare drywall, fresh patches, stain-prone areas (smoke, water marks, tannin bleed from wood), and dramatic color changes all require primer. Walls in good condition being repainted a similar color can sometimes use a paint-and-primer product, though standalone primer typically performs better on compromised surfaces.
2-3×
More coats needed without primer on bare drywall
Professional painters commonly observe that unprimed drywall absorbs topcoat unevenly, requiring significantly more paint to achieve uniform coverage.
80%
Of paint failures attributed to poor surface prep
Industry painting guides and contractor training materials consistently cite inadequate preparation - not paint quality - as the dominant cause of finish failures.
Application Sequence and Technique
Paint in this order - ceiling, walls, trim - to minimize re-cutting and touching up edges. Start each surface by cutting in corners and edges with a brush (2-2.5 inches works for most), then fill the field with a roller. A consistent roller speed and overlapping "W" or "N" stroke pattern reduces lap marks.
Maintain a wet edge: always roll back into paint you've just applied before it begins to set. Work in sections no wider than four to five feet at a time. Two thin coats consistently outperform one heavy coat: heavy coats run, sag, and take far longer to cure.
Allow manufacturer-recommended dry time between coats - typically two to four hours for latex paints, longer in humid or cool conditions. Pulling tape too late can lift dried paint; remove it at a 45-degree angle while the final coat is still slightly tacky for the cleanest edge.