Understanding What You're Working With
Drywall - also called gypsum board or sheetrock - is made of a gypsum plaster core sandwiched between two layers of paper. It's durable for a wall material, but it's not impervious to doorknob strikes, furniture moves, or the slow migration of nail pops over time. The good news: most drywall damage is genuinely DIY-repairable without specialized trade skills.
The single most important variable in any repair is hole size. It dictates not just which materials you'll use, but how many steps and how much drying time the job will take. A nail hole can be filled and painted in an afternoon. A fist-sized hole realistically requires two to three days to complete properly, accounting for compound drying between coats.
It's also worth understanding that common home improvement myths - like skipping primer or applying paint over damp compound - are particularly costly in drywall work, where shortcuts almost always show up visibly in the final finish.
Check for Hidden Hazards First
Before cutting into any wall, verify there are no electrical wires, plumbing pipes, or gas lines behind the drywall. Use a stud finder with AC wire detection or consult your home's blueprints. Cutting into a live wire or pipe is a serious safety hazard - if you're uncertain, stop and contact a licensed electrician or plumber before proceeding.
Tools and Materials You'll Need
Gathering the right supplies before you start prevents mid-project delays and improvised shortcuts that compromise the result. The specific materials depend on hole size, but the core toolkit is consistent across most repairs.
Putty knife or drywall knife
Used to apply and smooth spackling compound or joint compound into the hole.
Sandpaper (120- and 220-grit)
Used to smooth dried compound flush with the surrounding wall surface.
Joint compound (all-purpose)
The primary filler material used to build up and finish medium to large repairs.
Spackling compound
Lightweight filler ideal for small holes like nail pops and minor dings.
Drywall patch kit or mesh tape
Provides backing and structural support for holes too large to span with compound alone.
Primer (drywall-compatible)
Seals the repaired surface before painting to ensure uniform sheen and texture.
Utility knife
Used to trim ragged drywall edges and cut patch pieces cleanly.
Stud finder
Helps locate framing and detect hidden wires before cutting into walls.
What you will need
Step-by-Step Repair Instructions
Follow these steps in order. Skipping preparation or rushing drying time are the two most common reasons DIY drywall repairs remain visible after painting.
Assess the damage and choose the right method
Drywall repairs fall into three size categories, each requiring a different approach:
- Small (under ½ inch): Nail holes, minor dings - spackling compound only.
- Medium (½ inch to 4 inches): Accidental punctures - self-adhesive mesh patch or peel-and-stick kit.
- Large (4 to 6+ inches): Fist-sized holes or damage from doorknobs - California patch or drywall backer board method.
Inspect the edges of the damage. If the drywall crumbles, flakes, or shows signs of moisture damage or mold, address the underlying cause before patching.
Prepare the damaged area
Use a utility knife to trim any torn or ragged paper facing around the hole. Loose paper edges will bubble through compound and telegraph through paint. For larger holes, use a drywall saw or utility knife to cut the opening into a clean square or rectangle - straight edges are far easier to patch than irregular shapes.
Wipe the surrounding wall with a damp cloth to remove dust and debris, then let it dry completely before applying any compound.
Install backing support for medium and large holes
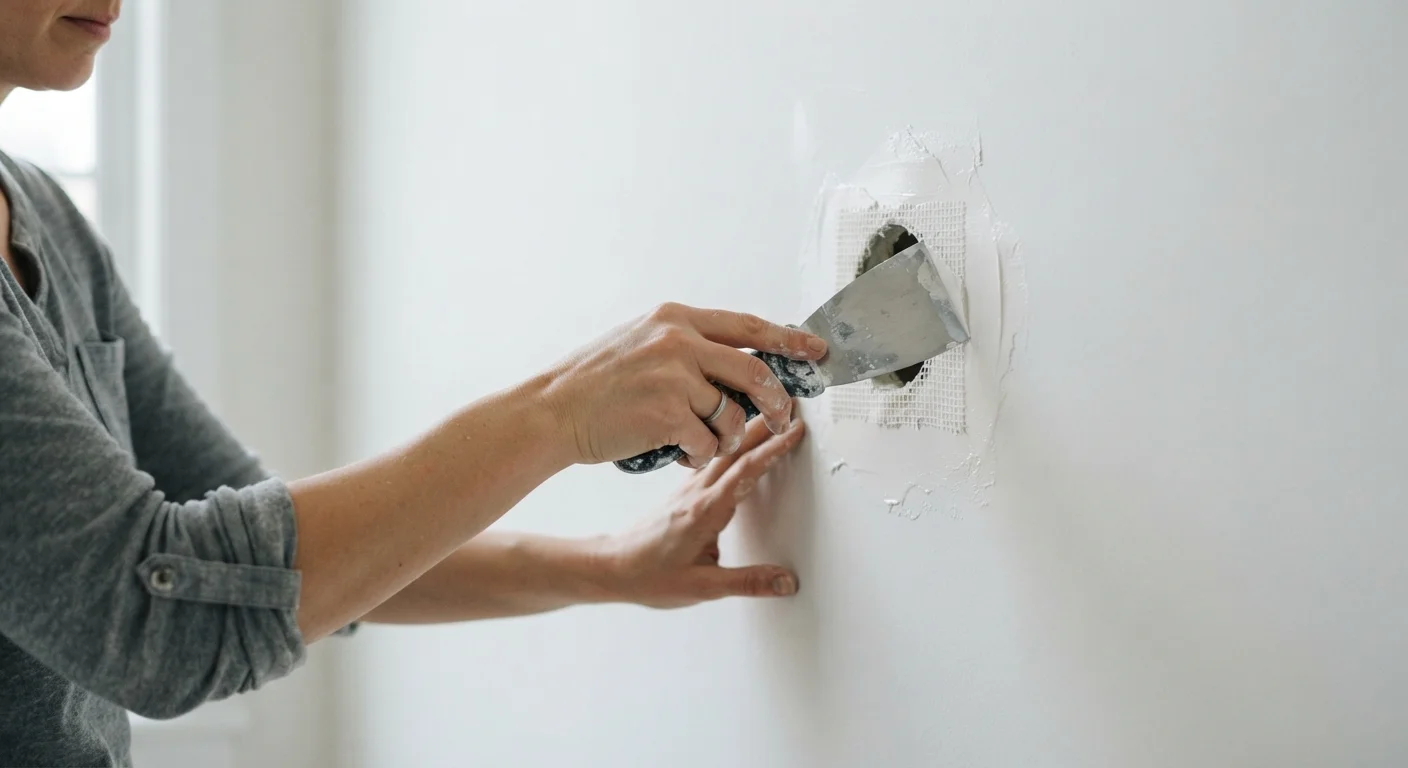
For holes between ½ inch and 4 inches, apply a self-adhesive mesh patch directly over the opening, centered on the hole. Press firmly to ensure full adhesion to the surrounding drywall surface.
For holes larger than 4 inches, cut a piece of wood (1×3 or 1×4 furring strip) slightly longer than the hole's height. Insert it through the hole, hold it against the back of the drywall, and secure it by driving drywall screws through the existing wall into the wood on each side of the opening. This creates a solid anchor for the patch piece.
Apply joint compound in thin coats
Load your putty knife with a modest amount of all-purpose joint compound. Apply the first coat over the mesh or patch, pressing firmly to fill voids. Scrape off excess and smooth the surface as flat as possible. The first coat will shrink as it dries - this is normal and expected.
For small holes with spackling, a single coat is often sufficient. For medium and large repairs, plan on two to three coats of joint compound, with full drying time between each application.
Sand smooth between and after coats
Once each coat is fully dry, sand lightly with 120-grit sandpaper to knock down ridges and high spots. Wipe away dust with a dry cloth before applying the next coat. After the final coat, finish with 220-grit sandpaper for a smooth surface that blends with the existing wall texture.
Run your hand across the repair - if you can feel an edge or ridge, additional feathering and sanding is needed before priming.
Prime and paint the repaired area
Apply a coat of drywall-compatible primer to the repaired area and extend it slightly beyond the patch boundary. Priming is non-negotiable - unpainted joint compound is highly porous and will absorb paint unevenly, creating a noticeable dull spot even with matching color. Let primer dry fully, then paint to match the surrounding wall.
For an exact color match, bring a small chip or a photo of the existing paint to a paint retailer for spectrophotometer matching. Note that even matched paint can look different on an aged wall - feather paint slightly beyond the patch for the most seamless result.
Feathering Makes the Finish Invisible
When applying joint compound, extend each coat several inches beyond the previous one and taper the edges thinly. This gradual feathering blends the patch into the surrounding wall so that once painted, the repair is effectively invisible to the eye.
When to Call a Professional
Most holes up to about six inches across are well within DIY capability. However, some situations warrant a licensed drywall contractor or a related trade professional:
- Moisture damage or mold: Patch material won't bond properly to water-damaged drywall, and mold behind walls requires remediation before repair.
- Structural concerns: Cracks that run diagonally from door or window corners, or damage near load-bearing walls, can signal settling or structural movement. A licensed contractor or structural engineer should evaluate these before cosmetic repair begins.
- Textured walls: Replicating skip-trowel, knockdown, or popcorn textures convincingly requires practice and often specialty tools. A professional may deliver a far less detectable result.
- Large-scale damage: Multiple large holes or widespread deterioration across a room is typically more cost-effective and time-efficient to hand off to a drywall professional.
Don't Rush the Drying Process
Applying paint or additional compound over wet joint compound is one of the most common reasons repairs fail. Each coat should feel completely dry and non-cool to the touch - typically 24 hours in normal indoor conditions. High humidity or cold temperatures will extend drying time significantly.