Choosing the Right Spot
Site selection is the single decision that has the most influence on your garden's success - and it cannot easily be undone mid-season. Walk your yard at different times of day and observe where sunlight falls and for how long. Most vegetables, particularly fruiting crops like tomatoes, peppers, and squash, need a minimum of six hours of direct sunlight daily. Eight hours is better.
Beyond sun, look for a location with reasonable access to water - hauling a hose 150 feet every day gets old fast. Also avoid low-lying spots where water pools after rain, as waterlogged roots are a primary cause of plant failure. Proximity to trees matters too: large roots compete aggressively for water and nutrients, and canopies cast shade you may not notice until summer.
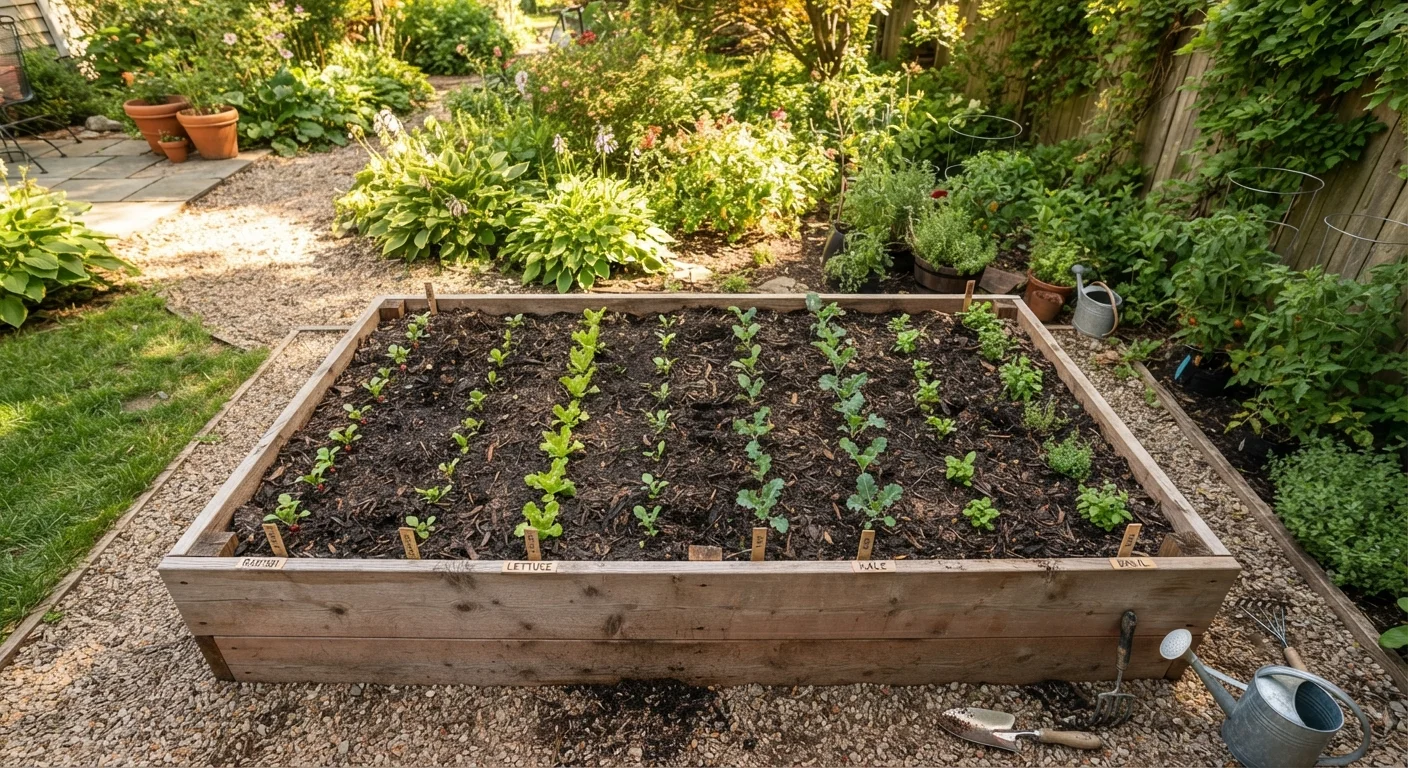
For a first garden, aim for a bed no larger than 4×8 feet. That size is productive, manageable, and won't overwhelm you. You can always expand in year two once you understand your site's quirks.
Start Smaller Than You Think You Should
A 4×8-foot bed sounds modest, but it will produce a meaningful harvest and teach you more in one season than a sprawling garden that becomes a chore. Experienced gardeners consistently recommend starting small and expanding based on what you actually learned - not what you planned before your first seed went in.
Understanding and Preparing Your Soil
Soil is not just dirt - it is a living system of minerals, organic matter, microorganisms, and air space. Vegetables are heavy feeders and need soil that provides nutrients, retains moisture, and allows roots to expand freely. Before you plant anything, assess what you're working with.
A simple ribbon test gives you a quick read on soil texture: take a handful of moist soil and squeeze it. If it forms a long, ribbon-like strip, you have clay-heavy soil that drains poorly and compacts easily. If it crumbles immediately, you likely have sandy soil that drains too fast and holds few nutrients. The target is a loamy texture that holds its shape but breaks apart with gentle pressure.
The most reliable fix for almost any native soil problem is organic matter - specifically, compost. Working 2-3 inches of finished compost into the top 8-10 inches of your bed before planting improves structure, drainage, and nutrient availability simultaneously. If you want to produce your own soil amendment going forward, our guide to composting at home walks through the process from start to finish.
It's also worth checking your soil's pH. Most vegetables grow best in a range of 6.0 to 7.0 (slightly acidic to neutral). Inexpensive test kits are widely available and will tell you if you need to adjust. Lime raises pH in overly acidic soil; sulfur lowers it in alkaline conditions. Be cautious about acting on popular soil advice without testing first - our piece on common garden myths covers several widespread practices that can actually harm your plants.
Loam
A balanced soil texture made up of roughly equal parts sand, silt, and clay. It drains well, holds moisture, and is easy for roots to penetrate - the ideal baseline for vegetable gardens.
pH
A scale from 0 to 14 measuring how acidic or alkaline your soil is. Most vegetables grow best between 6.0 and 7.0, where nutrients are most available to plant roots.
Compost
Decomposed organic material - kitchen scraps, leaves, grass clippings - that is worked into soil to improve its structure, nutrient content, and water retention.
Transplant
A young plant started from seed indoors or in a greenhouse, then moved to the garden. Transplants give beginners a head start over direct-sowing seeds outdoors.
Direct sow
Planting seeds directly into the garden bed rather than starting them indoors first. Works well for crops that don't tolerate root disturbance, like beans, carrots, and radishes.
Frost date
The average calendar date of the last spring freeze or first fall freeze in your area. Warm-season crops cannot tolerate frost and must be planted after the last spring frost date.
Deciding What to Grow
The best crops for your first garden are the ones you will actually eat, grown in varieties suited to your climate and available space. That narrows the field considerably and prevents the common mistake of planting too ambitiously.
For beginners, reliability matters more than novelty. These crops consistently perform well with minimal fuss:
- Lettuce and salad greens: Fast-maturing (30-45 days), tolerant of partial shade, and can be harvested repeatedly by cutting outer leaves.
- Radishes: Ready in as little as 25 days, excellent for filling gaps between slower-maturing plants.
- Bush beans: Direct-sow seeds into warm soil, require no staking, and produce heavily over several weeks.
- Zucchini: Almost aggressively productive - one or two plants are usually sufficient.
- Cherry tomatoes: More forgiving than large slicing tomatoes and ripen faster in shorter-season climates.
Check the back of seed packets or plant tags for your region's last expected frost date - this determines when it's safe to plant warm-season crops outdoors. Cool-season crops like lettuce and spinach can go in several weeks before that date and again in late summer for a fall harvest.
Your County Cooperative Extension Office
Land-grant university extension services provide free, regionally specific planting calendars, soil testing services, and pest identification - calibrated for your actual climate, not a generic national average.
Soil Texture Ribbon Test
A simple hand-feel test that takes two minutes and gives you a reliable read on your soil's clay, sand, and silt balance before you spend money on amendments.
Planting, Watering, and First-Season Care
Once your bed is prepared and your crops are chosen, timing and technique at planting determine how well your garden gets established. Transplants should go in the ground at the same depth they sat in their nursery container - planting too deep or too shallow stresses roots. Tomatoes are a notable exception: they benefit from being planted deeper, as stems will sprout additional roots along their buried length.
Space plants according to their tag instructions. Crowding is a common beginner mistake that reduces airflow, invites disease, and forces plants to compete for nutrients. It feels counterintuitive to leave empty-looking space between seedlings, but that space fills in quickly.
Watering deeply and less frequently encourages roots to grow downward, making plants more drought-tolerant. Aim to deliver about one inch of water per week in the absence of rain, applied at the base of plants rather than overhead when possible. If you're considering a more systematic approach to irrigation, our comparison of drip irrigation vs. sprinkler systems lays out the trade-offs clearly.
Apply a 2-3 inch layer of mulch around your plants shortly after planting to conserve soil moisture and suppress weeds. Our article on mulching garden beds covers how to do this correctly and the missteps to avoid. Keep mulch a few inches back from plant stems to prevent rot. Check your plants every few days in the first weeks, and don't panic at small setbacks - most first-season gardens encounter pests, weather surprises, or the odd plant failure. Learning from a single season teaches more than any amount of pre-reading.
Don't Skip Soil Prep to Save Time
Planting directly into poor or unprepared soil is the fastest way to have a discouraging first season. Compacted or nutrient-poor soil stunts root growth before plants ever get a chance to thrive. Spending an afternoon amending your bed with compost before planting will pay dividends throughout the entire growing season.